
How to Effectively Use a Smart Board with Windows System
- Joane Chong
- Jul 22, 2025
- 3 min read

In today's classrooms, technology is essential for improving student engagement and enhancing educational practices. Smart boards paired with Windows systems provide an interactive environment that fosters collaboration, creativity, and dynamic lessons. This guide outlines practical steps and strategies to maximize the potential of smart boards combined with a Windows system to elevate the learning experience for students.
Understanding the Technology
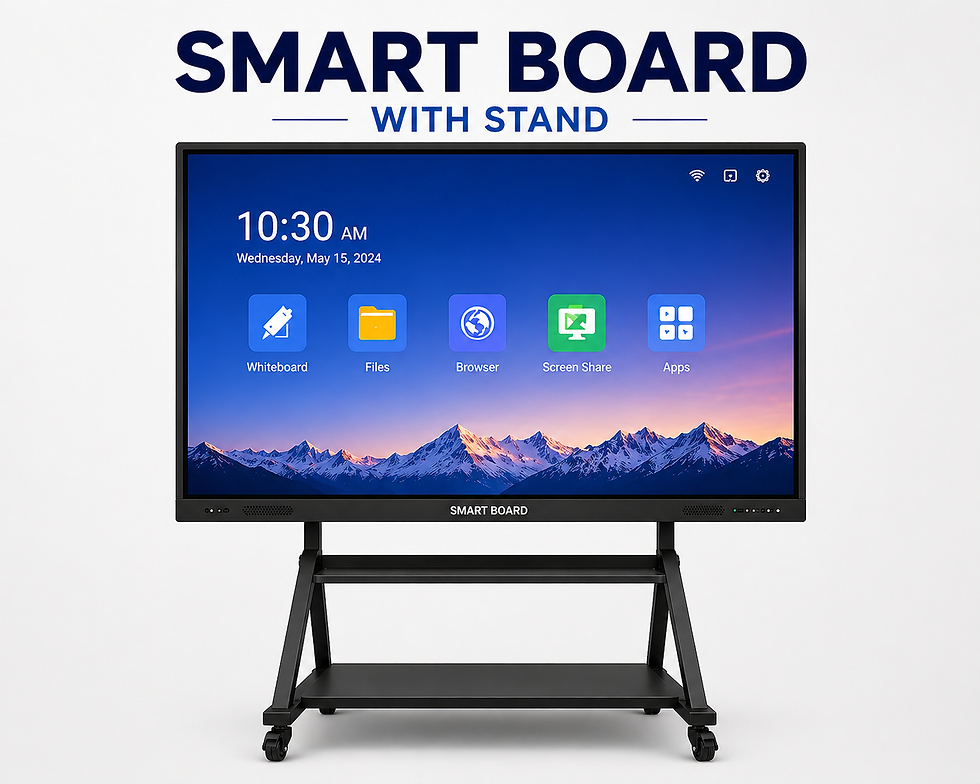
To make the most of a smart board, it is crucial to understand its components and functionality. A smart board is an interactive display that reacts to touch, allowing users to manipulate content as they would with a computer. When connected to a Windows operating system, it supports a variety of educational software, tools, and applications, enhancing the learning environment.
Gaining familiarity with the features of the smart board can significantly improve your ability to use this technology effectively.
Setting Up the Smart Board
1. Proper Calibration
Calibration is vital to ensuring the smart board functions correctly. It involves aligning touch inputs with screen displays. To calibrate, access the settings menu on your smart board and follow the provided instructions.
Proper calibration ensures that every touch translates accurately to the screen, leading to a smoother and more interactive lesson for students.
2. Install Necessary Software
Ensure that your Windows system has essential educational software installed. Applications like Microsoft Office, educational tools, and other curriculum-specific programs should be ready and available.
Having these resources accessible on the smart board streamlines lesson delivery. For example, using Microsoft PowerPoint or Google Slides allows for effortless presentations, enhancing the overall educational experience.
Engaging Students with Interactive Lessons
3. Utilize Interactive Features
Smart boards are designed to be used interactively. Take advantage of these features to craft engaging lessons. Use touch capabilities to manipulate images, annotate textual content in real-time, and incorporate interactive quizzes and polls.
For instance, studies show that interactive lessons can increase student retention of information by up to 80%. This hands-on experience keeps students engaged and enhances their understanding of the material.
4. Incorporate Multimedia Content
To create a rich learning environment, include multimedia elements such as videos, animations, and interactive simulations in your lessons.
For example, using a short, captivating video related to a lesson topic can significantly enhance students' comprehension. Visual aids cater to various learning styles, making complex concepts easier to grasp.
Encouraging Collaboration
5. Group Activities
Smart boards make group work more accessible and engaging. Encourage students to collaborate on group projects displayed on the smart board.
For example, students can collaboratively create a mind map using the smart board to brainstorm ideas for a project. This not only enhances learning but also develops vital communication and teamwork skills.
6. Share Control
Empower students by allowing them to share control of the smart board. This involvement enables them to interact directly with lesson content, fostering a sense of ownership over their learning.
When students participate actively, data shows they are more likely to stay engaged. A classroom where students feel connected benefits everyone involved.
Providing Accessibility
7. Utilize Accessibility Features
Windows systems offer various accessibility features to support students with disabilities. Activating these features ensures that lessons accommodate all learners.
Making lessons accessible fosters an inclusive environment, allowing students with different needs to thrive in their educational journey.
8. Save and Share Resources
Smart boards typically enable users to save lesson materials and resources in various formats. Take advantage of this feature to create a library for future use.
For example, saving annotated PDF files from a lesson allows you to quickly revisit key points in subsequent classes. This practice streamlines lesson planning and promotes efficient use of educational materials.
Transforming Teaching Practices
Integrating a smart board with a Windows system into your teaching can revolutionize how lessons are delivered. By following these steps—from proper setup and calibration to interactive features and continuous improvement—educators can create engaging and immersive learning environments.
Embrace the capabilities of smart boards, and enhance every lesson, ensuring students are not just passive recipients of information, but active participants in their education.


Comments